Getting Started with AuraLocal
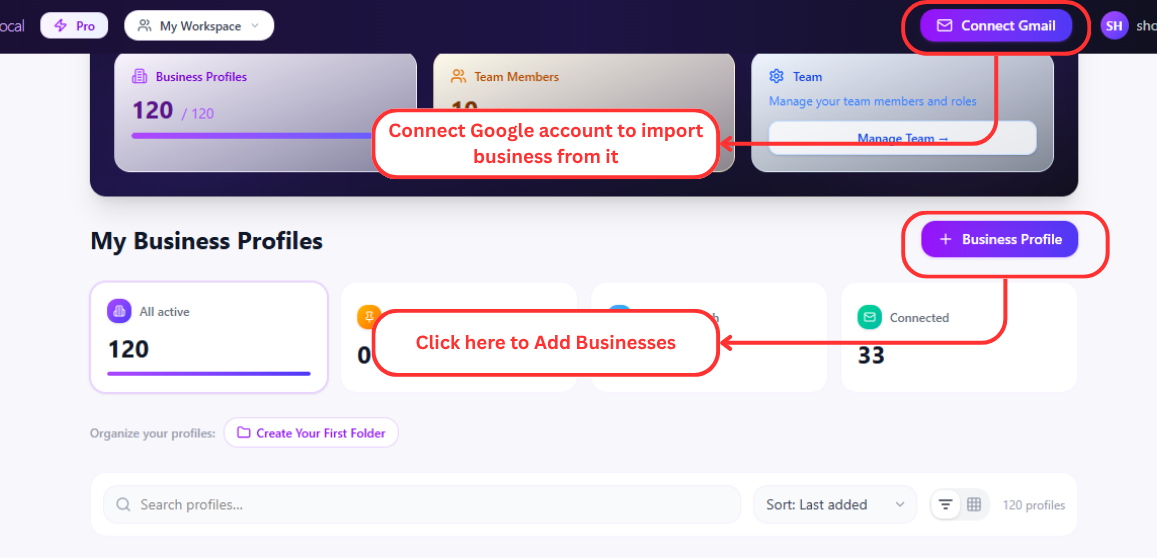
Now that you know what AuraLocal does, this article covers everything that happens before you add your first business: creating your account, understanding how workspaces and roles organize your data, and getting familiar with the dashboard layout.
The whole process takes about five minutes, and there's nothing to install — AuraLocal runs entirely in your browser, so you can set it up from a laptop today and pick it back up from any other computer tomorrow.
Creating Your Account
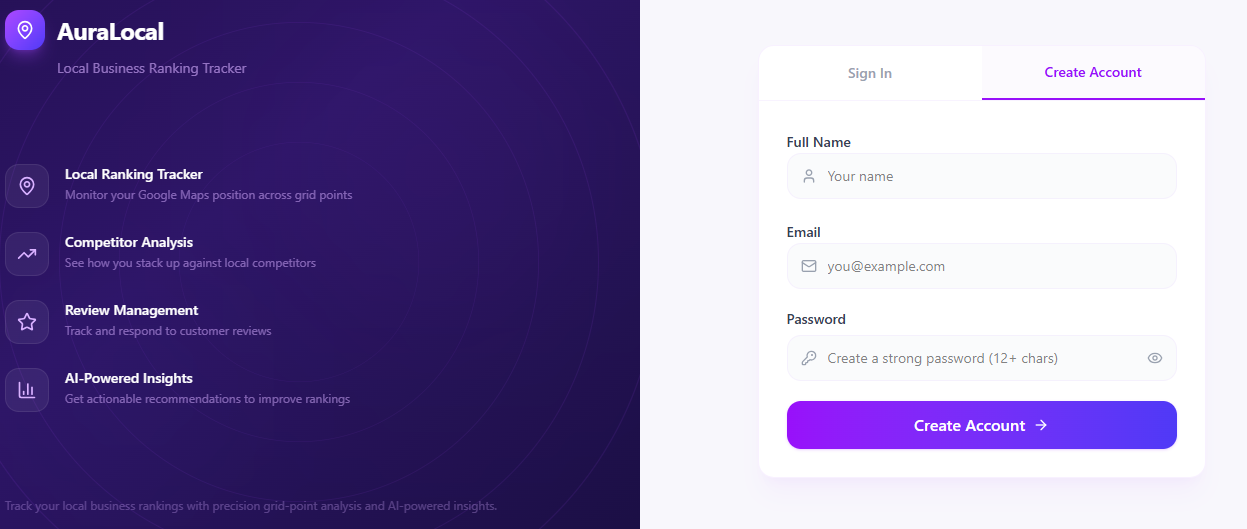
Setting up an account is straightforward:
- 1Visit https://app.auralocal.com
- 2Click Sign Up and enter your email and password
- 3Verify your email address
- 4You'll land on the onboarding screen — AuraLocal guides you straight into adding your first business
A couple of things worth knowing before you start:
- Use an email you check regularly. Verification happens through a link sent to your inbox, and that same address becomes tied to billing and account ownership — so it's worth using your real work email rather than a shared or temporary inbox, especially if you're setting this up for an agency.
- You become the Owner of your first workspace automatically. You can invite teammates and hand out roles later, but the account you sign up with keeps top-level control unless you explicitly transfer or share it.
- Nothing here is permanent. Every setting on the onboarding screen — your business list, your workspaces, your team — can be changed later. Onboarding is just there to get your first business added quickly so you can see the platform in action rather than staring at an empty dashboard.
Understanding Workspaces
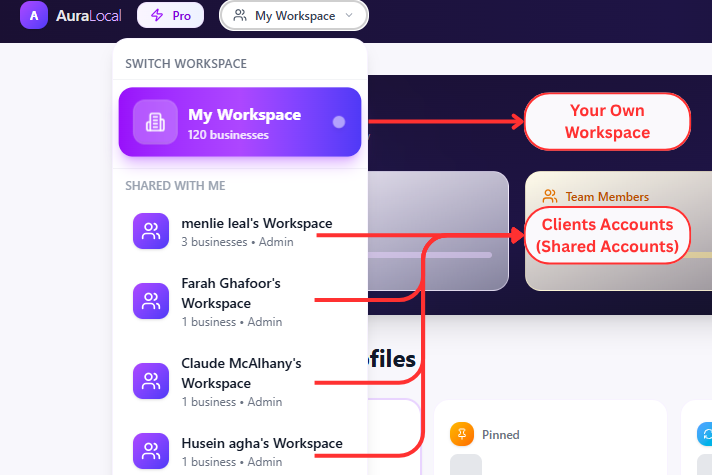
Before you add anything, it helps to understand Workspaces, since they determine how your data — and your team's, and your clients' — is organized inside AuraLocal.
| Workspace Type | Description |
|---|---|
| Your Own Workspace | Created automatically — this is your personal space for your own businesses |
| Shared Workspaces | Invite team members, share businesses, collaborate on rankings and reports |
| Client Workspaces | Create dedicated workspaces for each client — keeps their data isolated |
Your Own Workspace is created the moment you sign up, so you can start adding businesses immediately without setting anything else up. If you're a freelancer or solo consultant working across a handful of clients, it's tempting to keep everything in that one workspace — but it's usually worth creating a separate Client Workspace per client from the start. It keeps each client's keywords, competitors, and reports cleanly separated, and it means you can hand off access to that specific client later without exposing anyone else's data.
Agencies with a team should lean on Shared Workspaces: invite the people who need access, assign them a role, and everyone works from the same live data instead of passing spreadsheets back and forth.
You're not locked into whatever you choose on day one. Switching between workspaces — or creating new ones — takes one click from the sidebar at any point.
Roles & Permissions
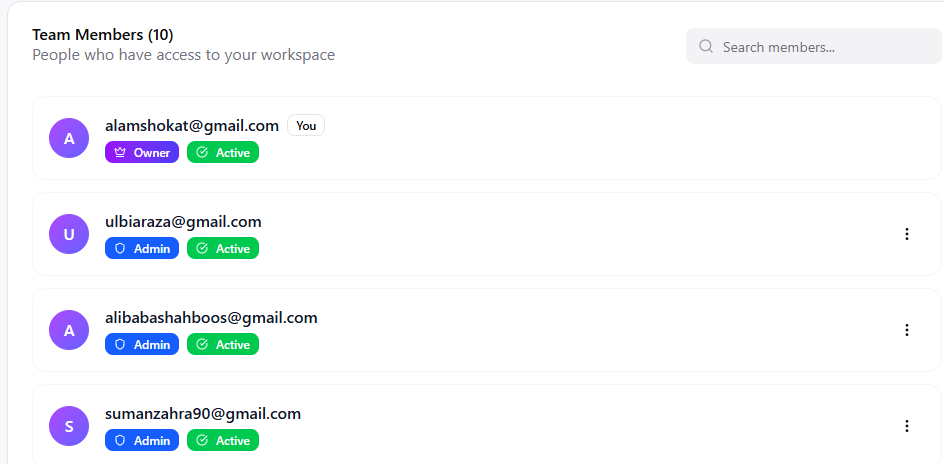
Once a workspace is shared with more than one person, each teammate gets a role that controls what they can see and do:
| Role | Can Do |
|---|---|
| Owner | Full control — manage businesses, invite/remove members, delete workspace |
| Admin | Manage businesses, view all data, invite members |
| Member | View and edit assigned businesses, run reports |
A common setup for agencies: keep Owner and Admin limited to whoever manages client relationships and billing, and add account managers or SEO specialists as Members scoped to just the businesses they're responsible for. That way, someone working on one client's keywords can't accidentally touch another client's data.
The Dashboard Layout
Once you're in, the dashboard is built around three areas:
- 1Left Sidebar — Your business list, workspace switcher, and navigation tabs. This is where you'll spend most of your time moving between businesses and between features like Business Profile, Keywords, AI Visibility, and Competitors.
- 2Top Header — Search bar, AI toggle, notifications, and account settings. Use the search bar to jump straight to a specific business once your list starts to grow.
- 3Main Content Area — Changes based on the active tab (Profile, Keywords, Competitors, AI Visibility, etc.). Whatever business and tab you have selected in the sidebar is what populates here.
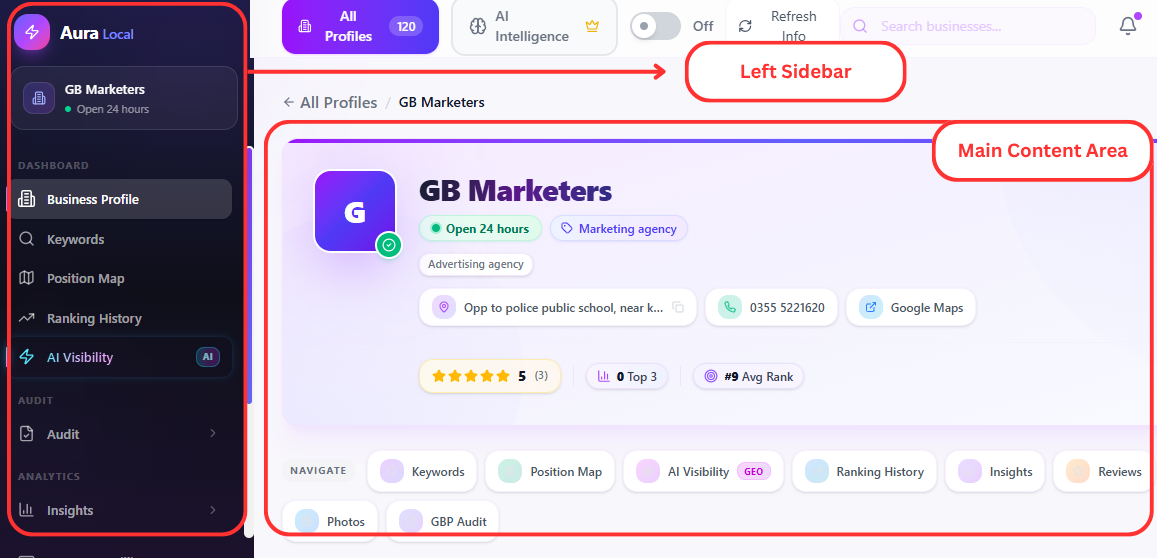
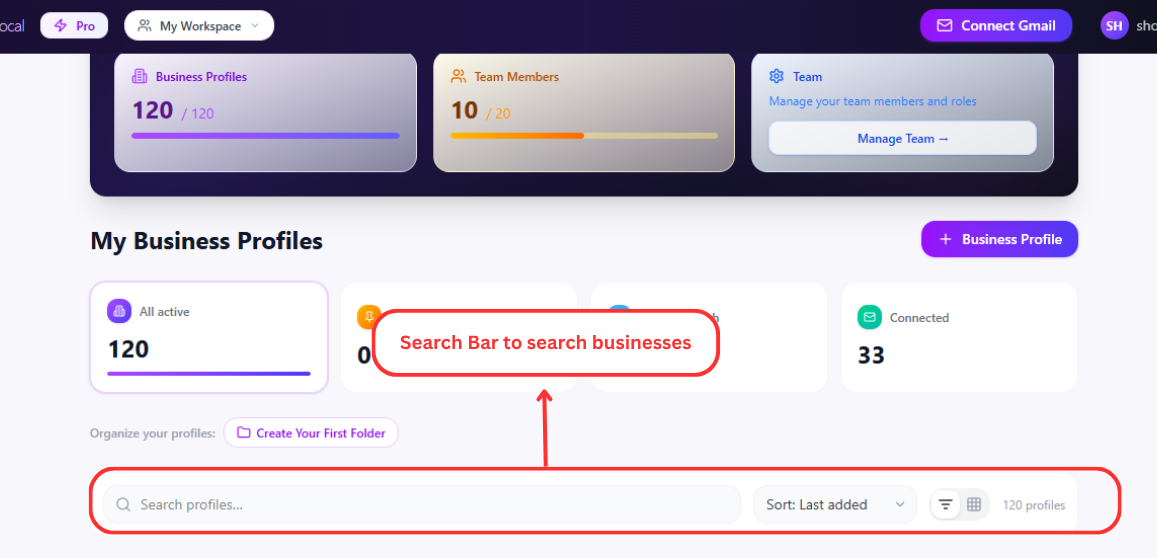
The layout stays consistent no matter which business or workspace you're viewing, so once you're oriented, moving between dozens of client businesses feels the same as managing just one. As your business list grows, the sidebar becomes your main way of navigating — later articles walk through each tab in detail, from Position Map and Ranking History to the Post Generator and Photos & Media.
Your First Five Minutes: A Quick Checklist
If you want the fastest possible path from sign-up to seeing real data, here's the order that works well:
- 1Sign up and verify your email
- 2Decide whether you need a Client Workspace now, or if Your Own Workspace is enough to start
- 3Follow the onboarding flow to add your first business
- 4Invite any teammates who'll need access, and assign their roles
- 5Open the dashboard and get familiar with the sidebar before diving into Keywords or AI Visibility
Everything in that list can be revisited and changed later — this is simply the order that gets you to useful data the quickest.
What's Next
Your account is set up, your workspace strategy is in place, and you know your way around the dashboard. From here, continue to Adding & Managing Businesses to add your first business and see exactly what data AuraLocal pulls in automatically.
Frequently Asked Questions
Need help? Email us at support@auralocal.com, or browse the rest of this guide under Help → User Guide.
Want to Improve Your Local Visibility?
Track rankings, monitor reviews, and grow your Google Business Profile with AuraLocal.
Get StartedRelated Articles
Continue exploring local SEO insights.